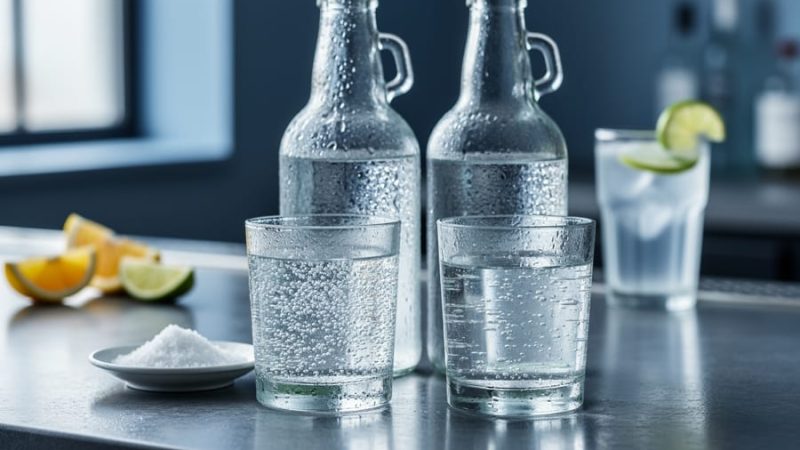
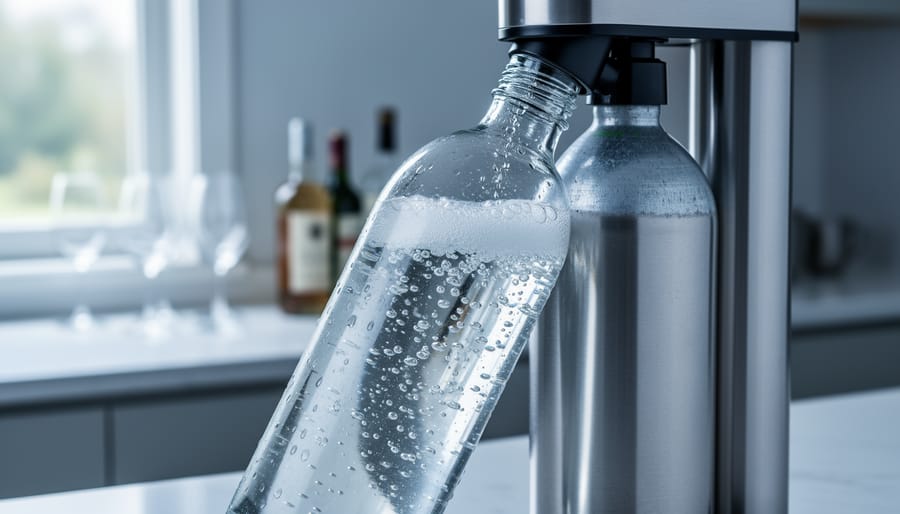
Making sparkling water at home requires just two things: water and carbon dioxide. The process takes less than 30 seconds when using a home carbonation system like a SodaStream or Aarke, and costs about 25 cents per liter compared to $1-3 for store-bought bottles. You can also create carbonated water without special equipment using dry ice or the traditional fermentation method, though these require more care and time.
The appeal goes beyond cost savings. Home carbonation gives you complete control over fizz intensity, from a gentle spritz to aggressive champagne-level bubbles. You can carbonate any liquid, from plain filtered water to fresh fruit juices, craft cocktails, or even wine. This flexibility has driven a dramatic surge in home carbonation interest, particularly among beverage enthusiasts who want to experiment with custom flavored seltzers and reduce their environmental footprint.
Commercial carbonation machines dominate the market for good reason. They deliver consistent results, require minimal setup, and eliminate the guesswork around pressure and safety. But the DIY approach using food-grade CO2 tanks or dry ice appeals to those seeking maximum customization at the lowest ongoing cost, especially if you’re already investing in a home bar setup.
The key is understanding carbonation chemistry. CO2 dissolves best in cold, still water under pressure. Temperature matters more than most people realize: water at 34°F absorbs nearly twice as much CO2 as water at room temperature. Master this principle, and you’ll produce sparkling water that rivals premium bottled brands while tailoring every batch to your exact preferences.
Why Carbonate Water at Home?
The appeal of home carbonation extends far beyond novelty. If you’re buying commercial sparkling water regularly, the math quickly favors a home setup. A soda stream costs about 25 cents to 50 cents per liter, depending on your desired carbonation level, while premium bottled brands often run $1.50 to $3 per liter at retail. For households consuming several liters weekly, you can recoup the initial equipment investment within months while enjoying fresher, more customizable results.
Control is another major draw. Commercial sparkling water arrives at a fixed carbonation level, but home systems let you dial in exactly the bubble intensity you prefer. Want aggressive fizz for a highball or gentle effervescence for sipping? You decide with each batch. This precision matters especially for mixologists crafting cocktails and mocktails, where carbonation level affects mouthfeel, dilution, and how the drink carries aromatics. Fresh carbonated water also tastes noticeably cleaner than bottles that have been sitting on shelves.
Environmental impact weighs heavily for many enthusiasts. Eliminating the cycle of buying, transporting, and recycling plastic bottles reduces your household’s waste footprint substantially. A single refillable carbonation bottle replaces hundreds of single-use containers annually. The CO2 cylinders themselves are refillable or exchangeable, creating a closed-loop system that generates minimal waste.
The upfront cost varies depending on your approach. Commercial carbonators require a larger initial purchase, while DIY systems using a CO2 tank, regulator, hose, and carbonator cap can be assembled more affordably. Ongoing costs then flip: refilling larger CO2 tanks for DIY setups typically delivers better per-liter economics than proprietary carbonator cartridges, though commercial systems offer unmatched convenience.
What You’ll Need: Equipment and Materials
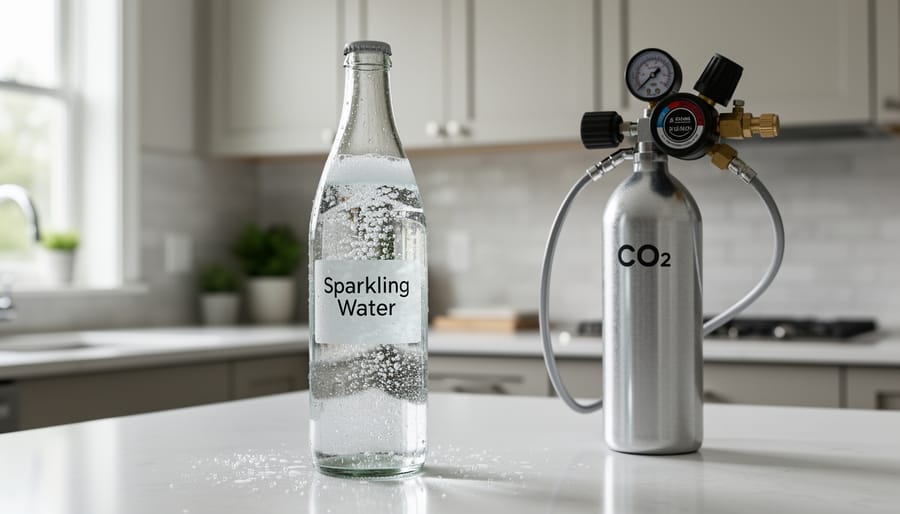
Making sparkling water at home requires the right equipment, but you have options ranging from plug-and-play convenience to customizable DIY systems. Your choice depends on your budget, how much control you want over carbonation levels, and whether you’re preparing drinks occasionally or outfitting a home bar for regular use.
The two main approaches are commercial carbonation machines and DIY carbonation systems. Commercial carbonators, like SodaStream-style devices, offer simplicity and speed. These countertop units come with everything integrated: a cylinder housing, a bottle that locks into place, and a button or lever mechanism that injects CO2. They’re designed for beginners and require minimal setup. The main ongoing cost is replacing proprietary CO2 cylinders, which typically run 25 to 50 cents per liter depending on your desired carbonation strength.
DIY carbonation systems give you more flexibility and lower long-term costs, but they require assembly and a bit more understanding of the process. A basic DIY setup includes:
- CO2 tank (typically a 5 or 10-pound cylinder from a welding supply or homebrew shop)
- CO2 regulator with pressure gauge to control output
- Food-grade hose or tubing to connect the regulator to the carbonator cap
- Carbonator cap (a specialized bottle cap with a valve that fits standard plastic soda bottles)
- Clean, sturdy plastic bottles rated for pressure (PET bottles from store-bought soda work well)
This carbonator cap method is the most affordable entry point for DIY carbonation. You fill a chilled plastic bottle with cold water, screw on the carbonator cap, connect it to your CO2 system via the hose, and pressurize. The setup is portable and stores easily when not in use.
For serious enthusiasts or those building a home bar, a kegerator setup takes DIY carbonation further. This approach uses a dedicated refrigerator or kegerator to house a larger CO2 tank, a permanently mounted regulator, and either a carbonation stone or a keg for batch carbonating. It’s the choice for high-volume production and maintaining ready-to-pour sparkling water on tap.
Regardless of which system you choose, remember this critical rule: carbonate only cold, plain water. Never introduce juice, wine, flavored liquids, or anything other than pure water into the carbonation chamber. The sugars and acids in other beverages can damage equipment, create excessive foaming, and leave residue that’s difficult to clean. Flavor your water after carbonation, not before.
Safety First: CO2 Handling and Equipment Precautions
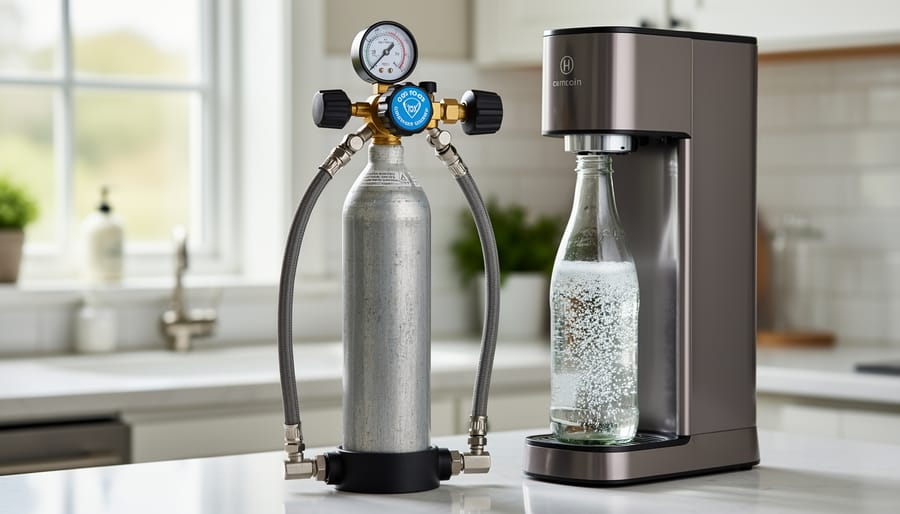
Before you start carbonating, understanding proper CO2 safety is non-negotiable. Carbon dioxide is stored under high pressure, and mishandling equipment can lead to leaks, equipment damage, or injury. Whether you’re using a countertop carbonator or a DIY CO2 tank setup, the same fundamental precautions apply.
Start with cylinder storage. Do not expose or store cylinders near heat sources, this means keeping them away from stoves, radiators, direct sunlight, or hot garages. Heat causes the gas inside to expand, increasing internal pressure beyond safe levels. Store your CO2 cylinder in a cool, dry location where temperatures remain stable.
Every carbonating cylinder is fitted with a unique safety valve, which will safely release pressure if the internal pressure exceeds a dangerous threshold. This valve is your built-in failsafe, but it only works properly if you store and handle the cylinder correctly. Familiarize yourself with where this valve is located on your specific cylinder and never tamper with it.
Before you carbonate your first batch, inspect all connections. If you’re using a carbonator cap system with a plastic bottle and CO2 tank, check that the regulator is properly attached to the cylinder, the hose has no cracks or leaks, and the carbonator cap threads snugly onto your bottle. For commercial carbonators, ensure the cylinder clicks firmly into place according to the manufacturer’s instructions. A loose connection means CO2 escapes instead of carbonating your water, and it wastes gas while creating a potential hazard.
Do not exceed the pressure rating of your equipment. Most carbonator cap systems work safely between 30-45 PSI, while commercial machines have built-in pressure limits. Check your regulator gauge frequently during DIY carbonation, and consult your equipment manual for maximum safe pressure. Respecting these limits prevents bottle ruptures and keeps your setup functioning reliably over time.
Step-by-Step: Carbonating Water at Home
Using a Commercial Carbonator
Commercial carbonators like SodaStream-style machines offer the most straightforward path to homemade sparkling water. The process takes seconds once you understand the basics.
Start by chilling your water thoroughly. Cold water absorbs CO2 far more efficiently than room-temperature liquid, giving you better carbonation with less effort. Fill the reusable bottle to the fill line indicated on the container, overfilling prevents proper carbonation and can damage the machine.
Secure the bottle into the carbonator by twisting it into place until you feel resistance. The mechanism creates an airtight seal necessary for carbonation. Now comes the fun part: pressing the carbonation button in short, firm pulses.
For light carbonation, use two to three pulses. You’ll hear a buzzing sound with each press as CO2 enters the water. Medium carbonation requires four to five pulses, while strong carbonation takes six or more. Listen for the machine’s signature buzz to become a louder, sustained sound, that’s your signal the water has reached maximum carbonation for that cycle.
Here’s the critical safety step many beginners skip: wait a few seconds after your final pulse before removing the bottle. This pause allows excess pressure to dissipate through the machine’s release valve. Twist the bottle out slowly, tilting it slightly away from you as you remove it. You’ll hear residual CO2 escape, perfectly normal.
If your first attempt produces weak bubbles, try chilling the water more thoroughly or adding an extra pulse next time. The beauty of commercial carbonators is how quickly you can adjust and retry.
Using a DIY CO2 Tank System
Start by connecting your CO2 regulator to the tank valve. Hand-tighten the connection, then use a wrench to secure it, but don’t overtighten. Open the tank valve slowly and set your regulator to 30-40 PSI for standard carbonation. You’ll hear a brief hiss as the system pressurizes.
Fill a clean plastic soda bottle (PET bottles work perfectly) about three-quarters full with water you’ve chilled in the refrigerator for at least an hour. Cold water accepts CO2 far more readily than room-temperature water. Screw the carbonator cap onto the bottle tightly, ensuring a complete seal to prevent leaks during pressurization.
Attach the hose from your regulator to the fitting on the carbonator cap. You should hear CO2 rushing into the bottle. Once connected, shake the bottle vigorously for 30-60 seconds. This agitation forces CO2 to dissolve into the water rather than just sitting in the headspace above it. The bottle will feel firm and pressurized in your hands.
After shaking, let the bottle rest upright for two to three minutes. This waiting period allows the carbonation to stabilize and any remaining CO2 to integrate fully. Some enthusiasts shake a second time for extra fizz, then wait another minute.
Before opening, you must depressurize. Disconnect the hose while keeping the bottle upright, then slowly unscrew the carbonator cap just enough to release the built-up pressure. You’ll hear a loud hiss, that’s normal. Once the hissing stops, remove the cap completely, and your sparkling water is ready to pour or flavor as desired.
Testing Your Carbonation and Adjusting Levels
The first sign of successful carbonation is audible: when you crack open the bottle, listen for a pronounced hiss as CO2 escapes. A weak or absent fizz usually signals under-carbonation. Pour a small amount into a glass and observe the bubble stream rising from the bottom, vigorous, sustained bubbles indicate strong carbonation, while sparse or quickly dissipating bubbles suggest you need to adjust your method.
Taste is your final verification. Take a sip and note the mouthfeel: properly carbonated water should have a sharp, tingly sensation on your tongue with a slightly acidic bite from the dissolved CO2. If it tastes flat or only mildly fizzy, you’ll need to increase your carbonation intensity.
To strengthen carbonation, try these adjustments in order of effectiveness. First, ensure your water is thoroughly chilled, cold water absorbs significantly more CO2 than room-temperature water. For commercial carbonators, add two or three more pulses beyond your usual routine. With DIY CO2 tank systems, increase pressure by 5 PSI increments, extend contact time by 30 seconds, or shake the bottle more vigorously during carbonation to accelerate CO2 dissolution.
For consistency, keep a simple log of your settings: water temperature, number of pulses or PSI level, contact time, and the resulting carbonation strength. This removes guesswork from future batches. If you encounter over-carbonation, water that foams excessively when opened, simply reduce pulses, lower pressure, or shorten contact time on your next attempt.
Flavoring Your Sparkling Water
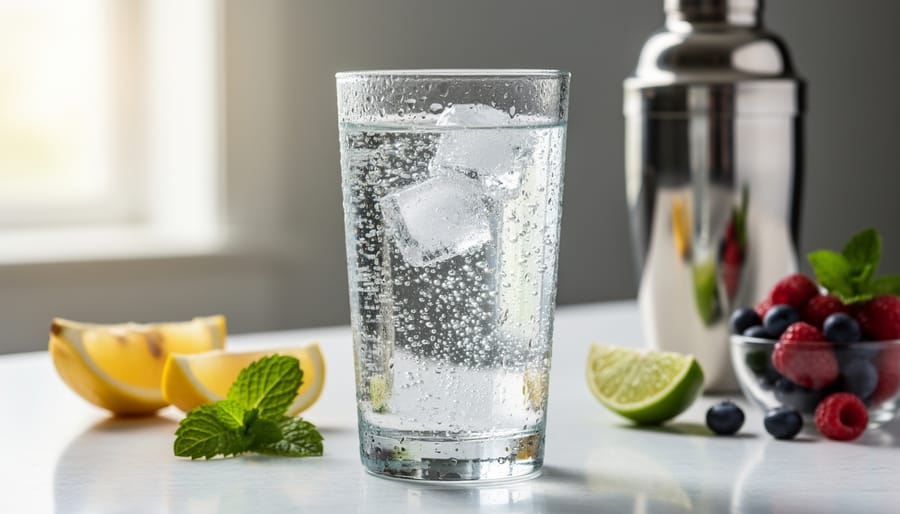
Always flavor your sparkling water after carbonation, not before. Carbonating anything other than plain water can damage your equipment, void warranties, and create unpredictable pressure issues. Once you’ve made your sparkling water, though, the flavoring possibilities open up immediately.
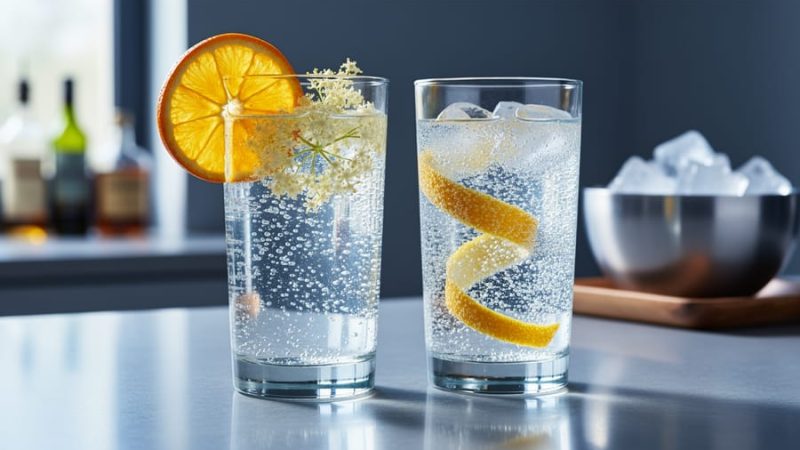
Fresh citrus remains the simplest and most popular choice. A squeeze of lemon or lime transforms plain sparkling water into something refreshing and bright. Grapefruit adds a bittersweet complexity, while orange brings gentle sweetness. Drop the spent citrus wedge into the glass for visual appeal and intensified aroma.
For deeper flavor, try infusions. Muddle fresh berries directly in your glass before adding the sparkling water, or prepare a quick fruit infusion by letting sliced cucumber, strawberries, or watermelon sit in still water for an hour, then strain and carbonate the infused water. Herbs like mint, basil, and rosemary work beautifully, either muddled or added as a garnish that releases oils as you sip.
- Citrus: lemon, lime, grapefruit, orange, or blood orange wedges
- Fruits: muddled berries, cucumber slices, watermelon chunks, or stone fruit
- Herbs: fresh mint, basil, rosemary, thyme, or lavender
- Aromatic additions: a dash of bitters, ginger syrup, elderflower cordial, or vanilla extract
- Cocktail applications: use as a mixer for highballs, spritzes, or easy 3-ingredient drinks
Bitters deserve special mention for sophisticated mocktails. A few dashes of aromatic, citrus, or celery bitters can elevate plain sparkling water into something complex and layered without adding sweetness or calories. Simple syrups offer another route, letting you dial in exact sweetness levels while introducing flavors like honey, agave, or fruit.
Your homemade sparkling water also serves as an ideal cocktail base. It brings freshness to rye whiskey cocktails adds brightness to a pickleback chaser, and works in both frozen daiquiri and whiskey sour slushy preparations where you want controlled carbonation. The key advantage over store-bought sparkling water is customization: adjust carbonation intensity to match your drink’s needs, whether you want aggressive bubbles for a spritz or gentle effervescence for a delicate cocktail.
Frequently Asked Questions
Home carbonation raises practical questions about cost, safety, and technique. Here’s what you need to know before you start making sparkling water.
Can you carbonate liquids other than water?
No, you should only carbonate plain water in your carbonation equipment. Never carbonate juice, wine, soda, or any flavored liquid directly, as sugars and particles will damage your system and create dangerous pressure buildup. Always carbonate cold, plain water first, then add flavorings afterward.
How long does carbonation last in homemade sparkling water?
Properly sealed sparkling water maintains carbonation for 2-3 days in the refrigerator. The fizz fades faster if the bottle is opened repeatedly or stored at room temperature, so carbonate only what you’ll drink within a few days for best results.
How many liters does a CO2 cylinder produce?
A standard cylinder typically produces 60-130 liters of sparkling water, depending on your carbonation level. Light carbonation yields more liters per tank, while strong carbonation uses more CO2 per bottle.
Is homemade sparkling water as good as store-bought?
Yes, homemade sparkling water matches or exceeds commercial quality when you use cold water and proper technique. You actually gain more control over carbonation intensity than you’d find in store brands, letting you customize the bubble strength to your preference.
The cost question deserves a closer look. A commercial carbonator costs about 25 cents to 50 cents per liter, depending on your carbonation level. DIY systems using a CO2 tank with a carbonator cap and plastic bottle run significantly cheaper per liter once you’ve covered the initial equipment investment. Calculate your household’s sparkling water consumption to determine which approach makes financial sense. If you’re drinking two liters daily, the savings add up quickly over months.
Safety concerns often come up with home carbonation. Remember the basics: never store cylinders near heat sources, ensure all connections are secure before operating your system, and don’t exceed your equipment’s pressure rating. Every carbonating cylinder includes a unique safety valve designed to release pressure safely if needed. These aren’t just suggestions, they’re essential practices whether you’re using a commercial machine or a DIY setup.
Quality consistency improves with practice. You’ll learn how your specific system responds to different water temperatures, pressure settings, and carbonation times, allowing you to dial in your perfect fizz level every time.
Making sparkling water at home puts you in control, of your budget, your bubbles, and your environmental footprint. Whether you choose a commercial carbonator for convenience or build a DIY CO2 system for flexibility and lower long-term costs, you’ll enjoy fresh carbonated water whenever you want it. Start with the method that fits your commitment level, then experiment. Adjust your carbonation intensity, try different flavorings post-carbonation, and discover what you like best.
The real beauty of home carbonation extends beyond plain sparkling water. Use your freshly carbonated base in cocktails where bright, lively bubbles elevate the drink, or craft sophisticated mocktails with herbal infusions and bitters. From a simple afternoon refreshment to the foundation of your next signature mix, homemade sparkling water adapts to whatever you’re pouring. You’ve got the tools, the technique, and the freedom to create exactly what you’re craving, no store run required.